Do you remember early days of Web? Many cool DNS names were not claimed but you had no idea how to register one? Maybe it was expensive and you did not know why you needed one? And then it became mainstream but you were too late to claim yours?
Do not repeat the same mistake again! Claim your ENS address (Ethereum Name Service) before it is gone.
Note that this would cost some ETH (and $) but it is not that expensive (much cheaper than it used to be to register DNS names in early days).
On April 25th, it cost me 0.04013043132 ETH (a little less than $100) to register a name for 5 years.
Pre-requisites
First, you need a self-controlled wallet. For this tutorial I will be using MetaMask, which a browser extension. Read their FAQ to see how to install it or import a self-controlled wallet using a 12-word recovery phrase if you already have a wallet (like Coinbase Wallet, or Trust Wallet).
Then, you need to have some ETH. If you do not have one you can buy it on Coinbase. You need to register, and follow the steps to link your bank account.
After you get some ETH, you will need to transfer it to your self-controlled wallet. Use “Send” option from your ETH Coinbase wallet:

Once you transfer funds to your self-controlled wallet, it’s time to go and register your ETH name!
Register your ETH name
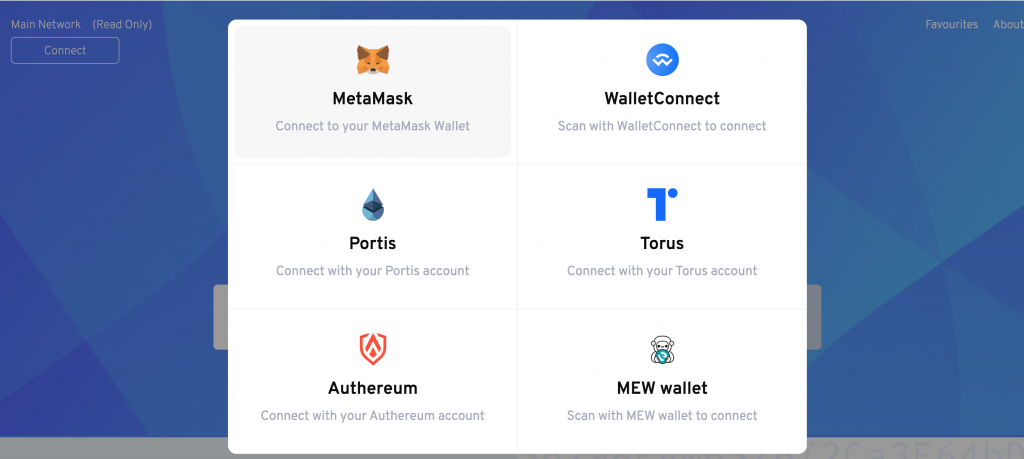
First, you need to go to https://app.ens.domains/ and connect your wallet by hitting “Connect” button. Again, I will use MetaMask:
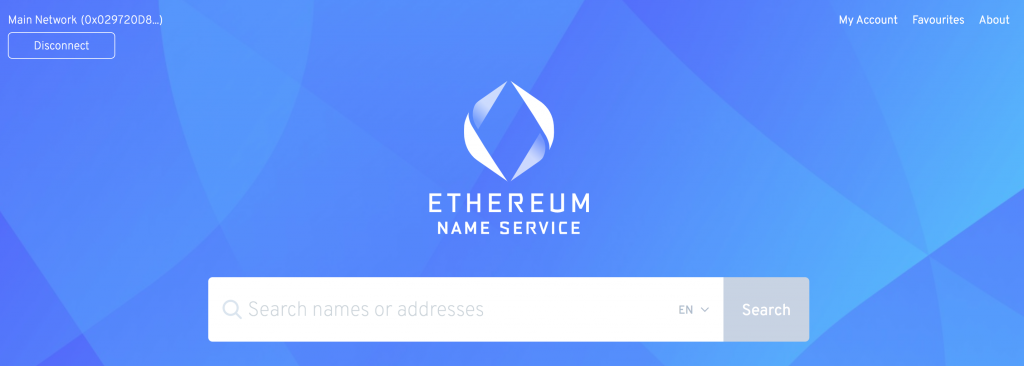
After you connected the wallet, you should see “Disconnect” option:
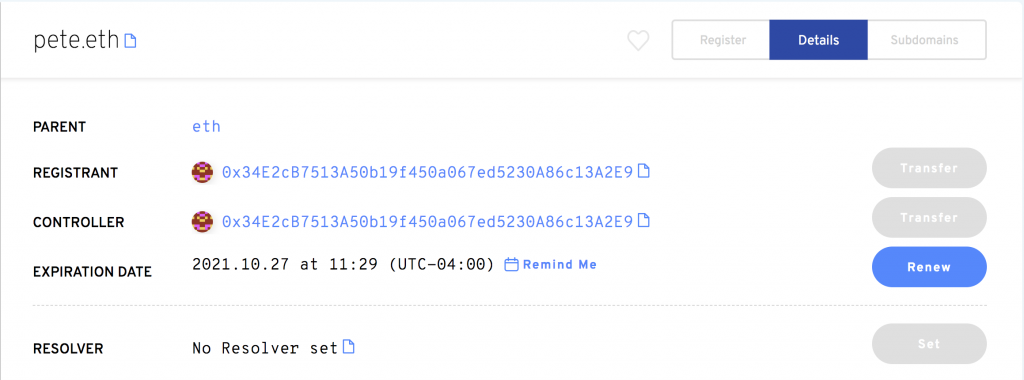
Type in a name you would like to register to see if it is available. If it is already registered, you will see something like this:
If it is still available, you will see an option to register it:
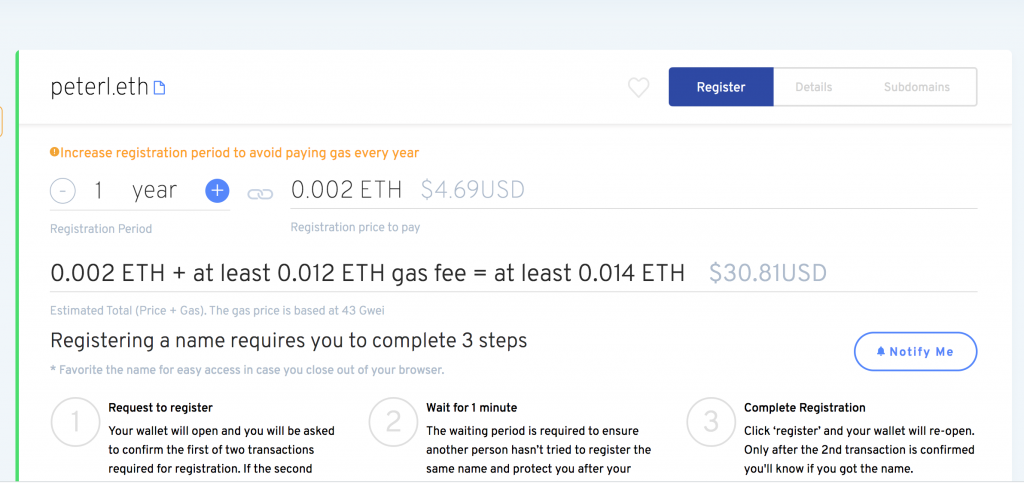
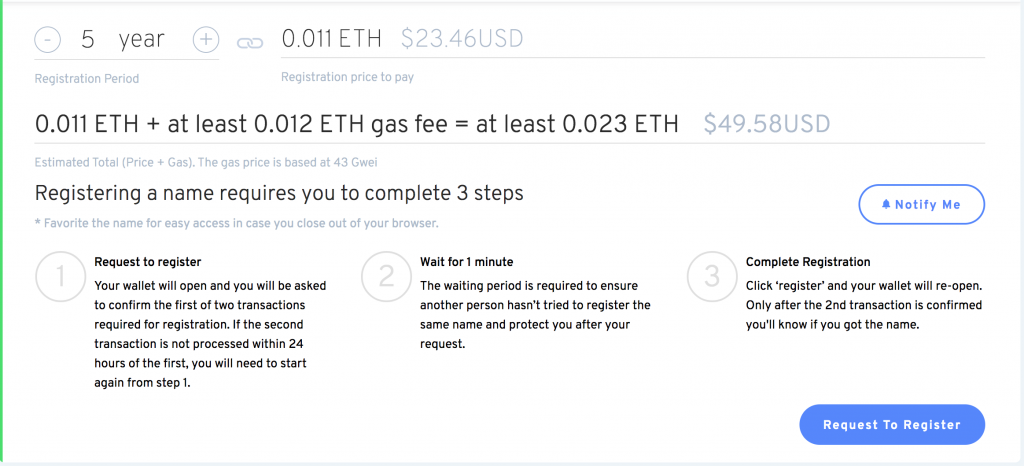
Go ahead, and adjust registration period, if you want, and then hit “Request to register”:
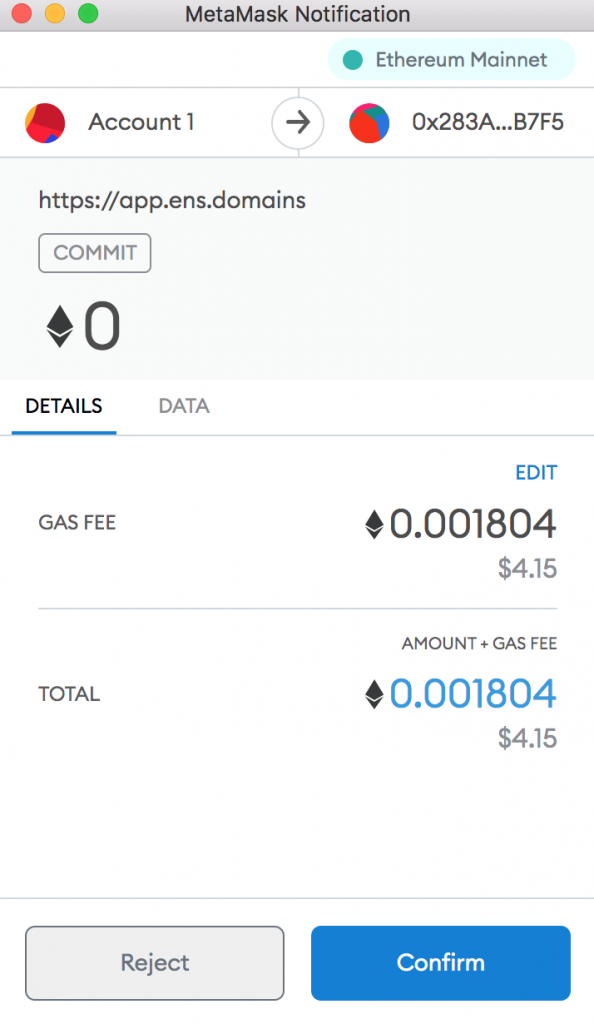
You will be asked to confirm the request via the MetaMask wallet:
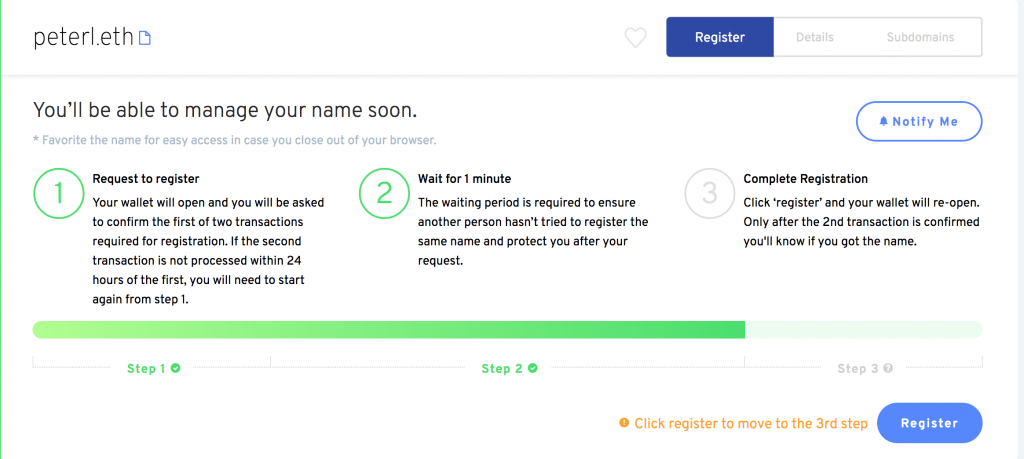
It will take a while for the transaction to be confirmed. Then you will have to wait 1 min to make sure another person has not tried to register the same name.
After the minute is over, you will see “Register” button. Click on it.
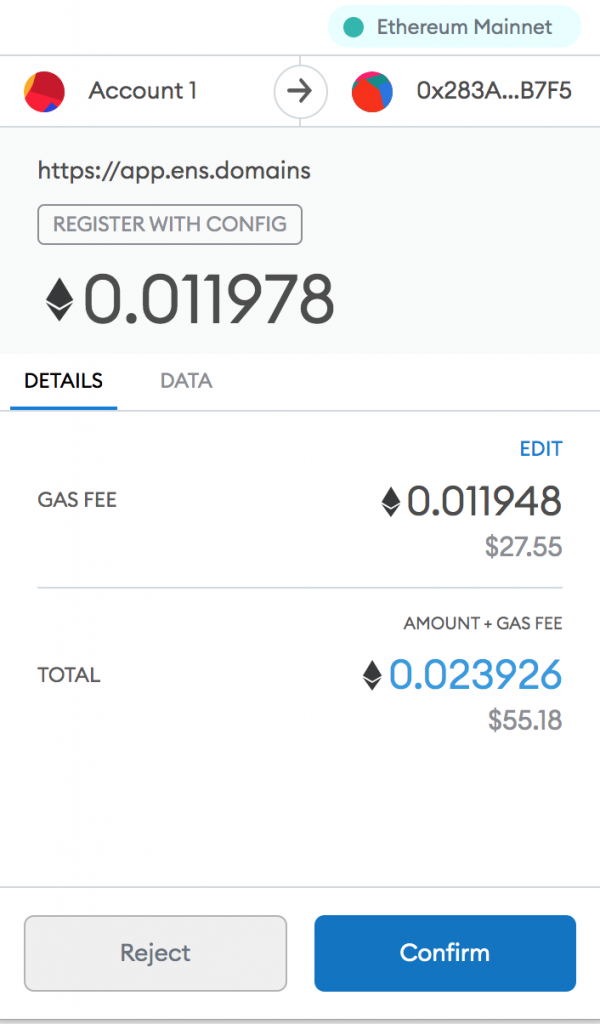
You will be asked to confirm the transaction again via the wallet. Hit “Confirm”.
It will take a while again to complete the transaction. After it is completed, you will see “Set Reverse Records” option. Hit it.
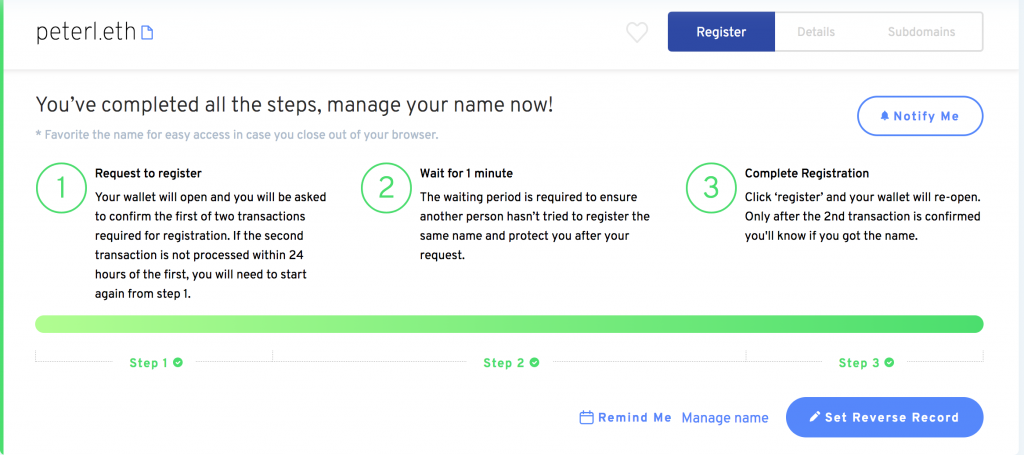
Set up reverse records
The reverse records are pointing the ENS name you’ve just registered to your ETH, BTC, and other addresses. You then will be able to use this name instead of the actual address. After you clicked “Set Reverse Records”, you will see this screen:

Click on “Reserve record: not set”, and then select your name:
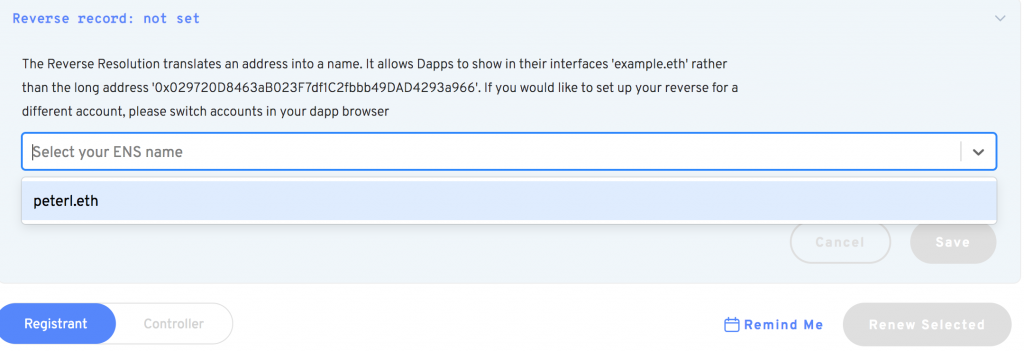
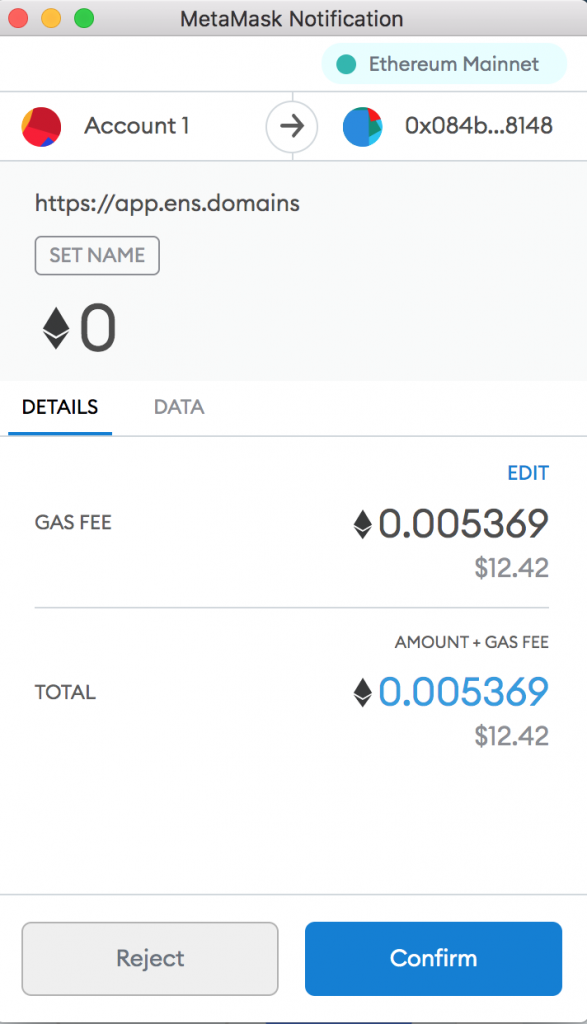
After you selected the name, hit “Save” button. You will be asked to confirm the transaction via the wallet. After the confirmation, you will have to wait a little again for the transaction to be confirmed by the network.
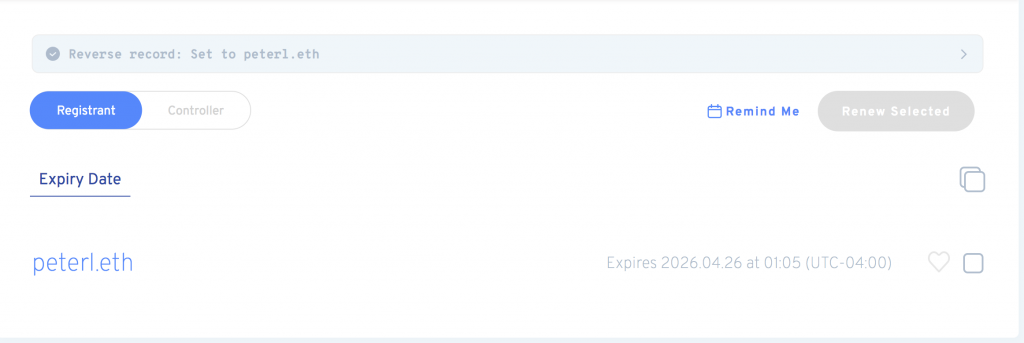
After the transaction is confirmed, you will be able to add records. Hit on your just registered name that is in the bottom part of the screen:
On the next page scroll a little bit till you see “ADD/EDIT RECORD” section:
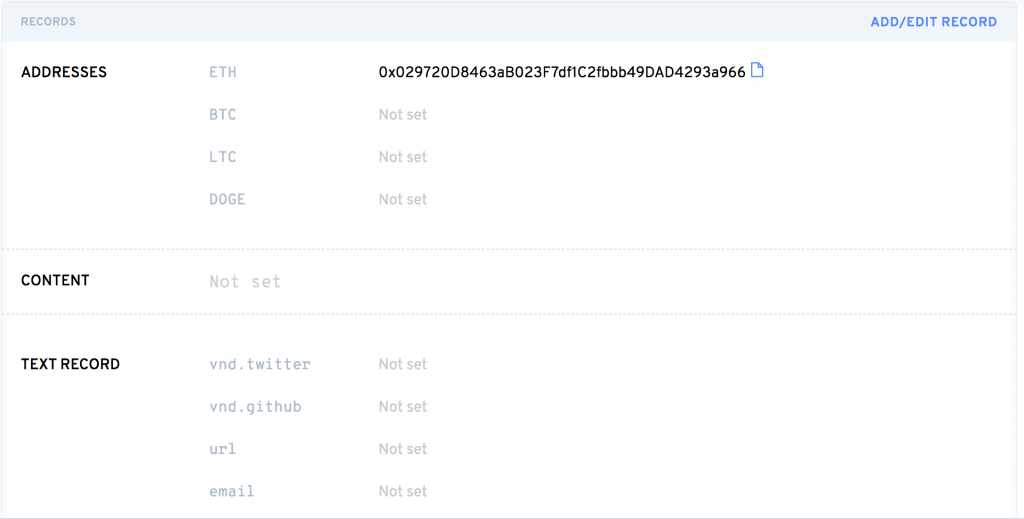
Hit “Add/Edit Record” option and set other addresses. You can also set text records, if you wish. For example,
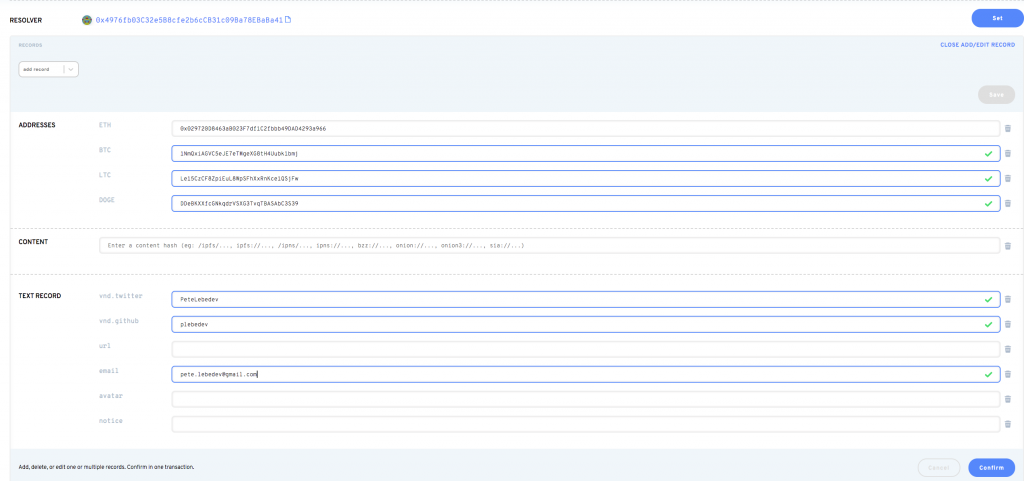
And then hit “Confirm”. You will see another dialog, so you can double check your records:
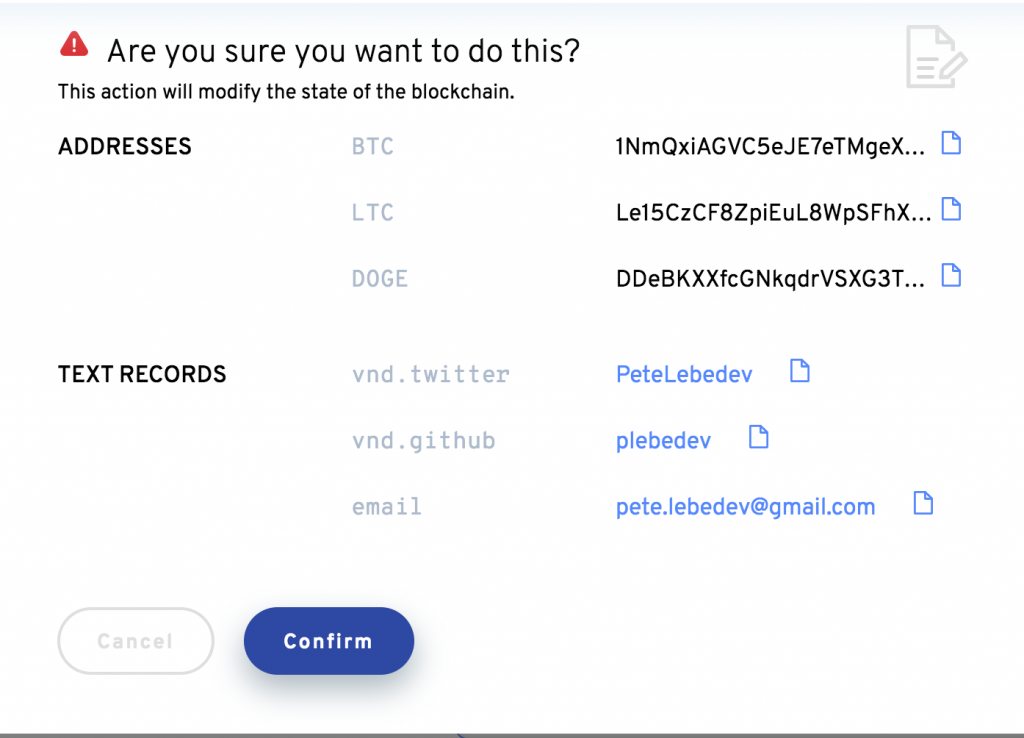
Hit “Confirm” again. You then will need to approve the transaction via the wallet:
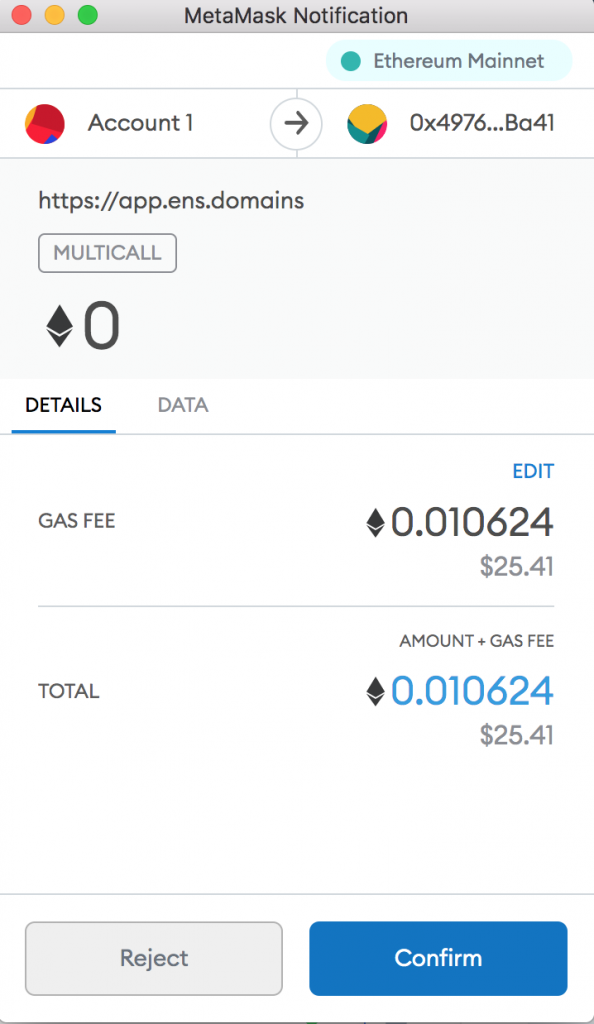
After the transaction is confirmed, you can use the newly registered name instead of long addresses that are impossible to remember.
Congratulations!